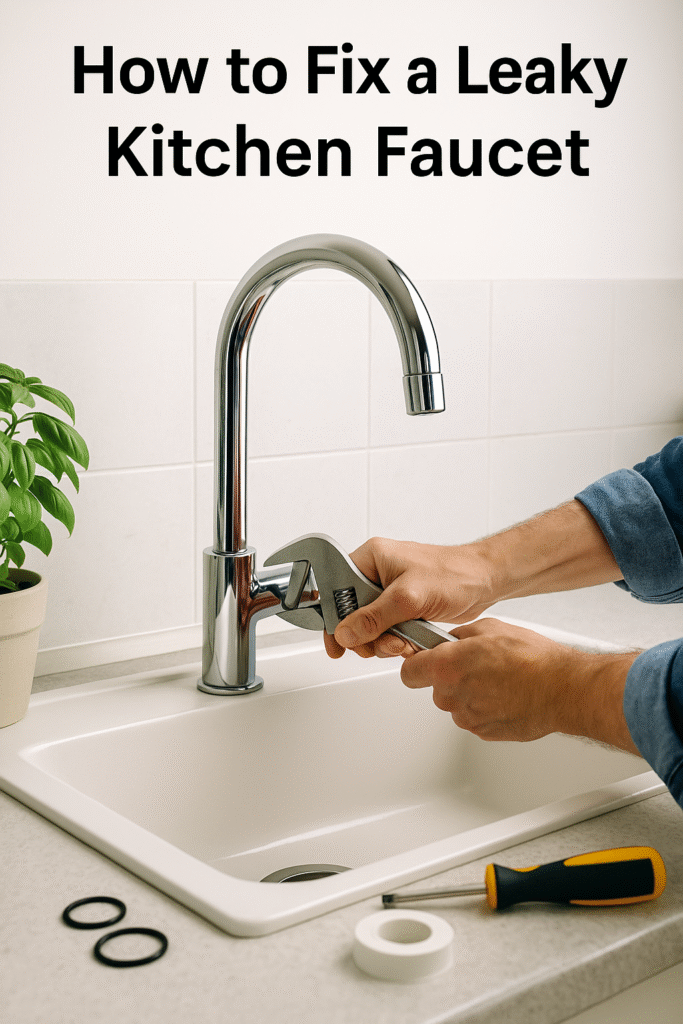
How to Fix a Leaky Kitchen Faucet: Step-by-Step DIY Guide
A leaky kitchen faucet wastes water, raises utility bills, and can stain sinks or countertops over time. The good news is that most leaks come from inexpensive parts—usually worn O-rings, washers, or a failing cartridge—and you can fix them yourself with basic tools in under an hour.
Before You Start: Identify Your Faucet Type
Most modern kitchen faucets fall into one of these designs:
- Single-handle cartridge (very common): A leaky kitchen faucet usually traced to the cartridge or its O-rings.
- Compression (older, two-handle style): drip typically caused by a worn rubber washer.
- Ball or ceramic disk: fewer parts wear out, but seals can still fail.
If you’re unsure, search your faucet’s model number (often on the underside of the spout or in the manual) so you can buy the correct replacement part before disassembly.
Tools and Materials
- Adjustable wrench
- Screwdriver (Phillips or flathead)
- Replacement O-rings, washers, or cartridge (match your model)
- Plumber’s grease (for O-rings) and plumber’s tape (for threaded joints)
- Small bowl or tray to hold screws
- Clean cloths or paper towels
Step 1: Shut Off Water and Depressurize
Turn the hot and cold shutoff valves under the sink clockwise to close. Open the faucet to release remaining pressure and drain trapped water. Place a cloth in the sink to prevent small parts from bouncing into the drain.
Step 2: Remove Handle and Access Internal Parts
Pry off any decorative cap on the handle to expose the set screw. Loosen the screw with a screwdriver or hex key and lift the handle straight up. Remove any retaining cap and use an adjustable wrench to loosen the retaining nut. This reveals the cartridge (single-handle) or the valve stem/washer (compression style).
Step 3: Inspect for Wear and Damage
Pull the cartridge or valve stem straight out. Look for cracked plastic, torn O-rings, flattened washers, mineral buildup, or corrosion. If parts look worn or brittle, replacement is the best fix. Keep components in order so reassembly is easy, and take a photo for reference.
Step 4: Replace O-Rings, Washers, or Cartridge
Match replacement parts by model number or by bringing the old part to the store. Lightly coat new O-rings with plumber’s grease to improve sealing and longevity. For compression faucets, swap the rubber washer and screw it down snugly (do not overtighten). For cartridges, align tabs or orientation marks exactly as the original before seating it fully.
Step 5: Reassemble and Test
Reinstall the retaining nut and snug it—not excessively tight, which can crack housings. Replace trim pieces and the handle, then open the shutoff valves slowly. Run both hot and cold to purge air and check for drips from the spout and around the handle. If a slow drip remains, cycle the handle several times to seat seals; if it continues, recheck alignment or gently snug the retaining nut another quarter turn.
Troubleshooting Stubborn Leaks
- Drip only on hot or cold: the problem is likely on that side (for two-handle faucets) or the cartridge’s corresponding seal.
- Leak from base of spout: spout O-rings are worn—replace and grease them.
- Leak under the sink: check supply line connections; apply plumber’s tape to threaded joints and retighten.
- Low flow after repair: debris may have shifted into the aerator—unscrew and rinse it.
Maintenance Tips to Prevent Future Leaks
- Clean the aerator every few months to remove mineral buildup.
- Avoid overtightening handles; excessive force accelerates seal wear.
- Once a year, inspect visible O-rings for cracking and re-grease as needed.
- If your home has hard water, consider a faucet with ceramic disk technology or install a water softener to reduce scale.
When to Call a Pro
If the faucet body is cracked, the leak returns immediately after proper part replacement, the shutoff valves won’t close, or corrosion has seized components, a professional may be faster and safer. Typical faucet repair labor runs modestly, and full faucet replacement (including a new fixture) may be a smart upgrade if yours is very old or parts are no longer available.
Cost Snapshot
- O-ring/washer kit: low cost
- Cartridge: moderate (varies by brand)
- Full faucet replacement: higher, plus optional labor
Even at the higher end, fixing a leaky kitchen faucet usually costs far less than the long-term water waste and potential damage caused by continual dripping.
Frequently Asked Questions
How much water can a leaky kitchen faucet waste?
A drip every second can waste more than 11,000 liters per year. Stopping a leaky kitchen faucet quickly saves water and money.
Can plumber’s tape stop a leaky kitchen faucet drip?
Plumber’s tape helps seal threaded joints but won’t fix worn internal parts. Replace the failing O-rings, washer, or cartridge for a lasting repair.
How do I know whether to replace the washer or the cartridge?
Two-handle compression faucets typically use washers; single-handle faucets most often use a cartridge. If tightening the handle doesn’t help, inspect and replace the relevant part.
What if my faucet still leaks after replacing parts?
Confirm the cartridge is seated in the correct orientation, O-rings are greased and undamaged, and the retaining nut is snug. If leaks persist, mineral scoring on internal seats or a cracked body may require a new faucet or professional service.
Helpful Resources
- Home Depot: How to Fix a Leaky Kitchen Faucet
- Moen Faucet Solution Center
- EPA WaterSense: Fix a Leaky Kitchen Faucet
- DIY Faucet Repair Video Tutorial
Want more DIY guides like this? Visit our How-To & Fixes section for more tips on how to fix common household problems, including how to fix a leaky kitchen faucet and more.
AnswerNimbus is an online knowledge hub providing step-by-step guides, how-to fixes, and clear explanations across technology, home, collectibles, and everyday curiosities. Our mission is to make useful information easy to find, understand, and apply.
